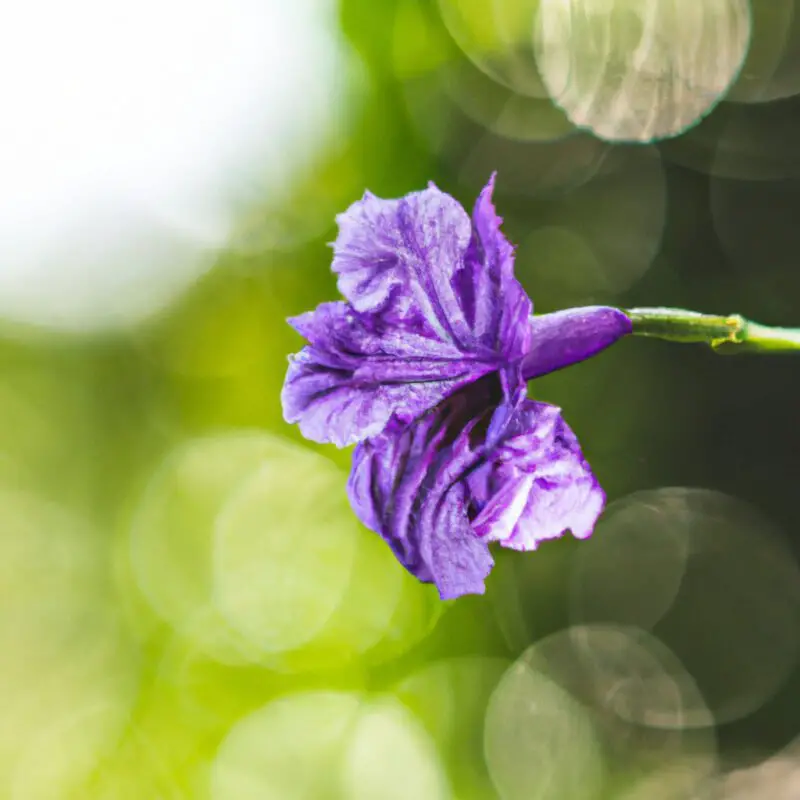
I've always craved control over my photography, striving for those perfect close-up shots that make subjects pop.
In this guide, I'll share six game-changing camera settings I've mastered for stunning close-ups.
From tweaking aperture to fine-tuning white balance, these tips will empower you to capture every intricate detail with precision.
Grab your camera, and let's dive into the nuances that'll elevate your close-up photography to professional levels.
Ready to take control? Let's get started.
Table of Contents
ToggleAperture Priority Mode
Aperture Priority Mode allows me to control the depth of field while the camera automatically adjusts the shutter speed for perfect exposure in my close-up photography. It's essential when I'm aiming for that crisp subject against a silky, blurred background, or when I want everything in sharp focus.
Manual Focus Utilization
Switching to manual focus, I ensure my close-up shots have the precise sharpness where I want it, especially when dealing with shallow depth of field or intricate details that automatic focusing might miss. Auto-focus can be hit or miss in these scenarios, often locking onto the wrong part of my subject. By taking control manually, I make micro-adjustments that define the outcome of my image. It's the difference between a good shot and a great one.
I often use a tripod to stabilize my camera, allowing me to fine-tune the focus ring without worrying about camera shake. I'll also occasionally employ focus peaking if my camera supports it, highlighting the edges in the frame that are in sharp focus, to further ensure accuracy. This level of control is invaluable for achieving the perfect close-up shot.
ISO Sensitivity Adjustment
Adjusting the ISO sensitivity is critical to managing the graininess in my close-up photographs, especially in varied lighting conditions. I've found that a lower ISO setting helps maintain the sharpness and detail that are essential for impactful macro shots. When I'm working in bright conditions, I'll often set my ISO to 100 or 200 to ensure the smoothest textures.
In dimmer situations, however, I may have to bump up the ISO. But I'm cautious: increasing it too much can introduce unwanted noise. I aim for the sweet spot where I get enough light without compromising image quality. It's a delicate balance, but with practice, I've learned to adjust the ISO on the fly, giving me more control over the final look of my close-up images.
Shutter Speed Selection
My shutter speed choice, a fundamental aspect of capturing sharp close-up images, hinges on the subject's motion and the available light. When I'm photographing a static subject, I can afford to use a slower shutter speed to let in more light, especially if I'm working with limited natural illumination. But if there's even a hint of movement, I'll bump up the shutter speed to freeze the action, ensuring that I don't end up with a blurry disappointment.
For those tiny movements that are often unseen by the naked eye, like a flower swaying slightly in the breeze, I'll opt for a faster shutter speed. It's all about striking the right balance to convey the scene precisely as I envision it, with complete control over the final image.
Utilizing Exposure Compensation
During my close-up photography sessions, I often rely on exposure compensation to quickly adapt to changing light conditions without fiddling with other settings. It's a powerful tool that gives me precise control over the image brightness, and here's how I make the most of it:
Dial in: I adjust the exposure compensation dial until the preview looks just right—bright enough to highlight details, but not so much that it washes out colors.
Check histogram: I always review the histogram to ensure there are no clipped highlights or shadows unless that's the effect I'm aiming for.
Bracket shots: For tricky lighting, I'll bracket my shots with different exposure values to make sure I capture the perfect one.
Refine in post: If needed, I fine-tune the exposure during post-processing for that extra bit of perfection.
White Balance Fine-Tuning
While I'm focused on getting the exposure just right, I also pay close attention to white balance to ensure the colors in my close-up shots are true to life. I don't rely on auto white balance because it can be unpredictable, especially in mixed lighting situations. Instead, I tweak the settings manually.
I'll often use a gray card to gauge the correct balance or adjust the Kelvin temperature until the colors match what I see with my own eyes.
If I'm working in consistent lighting, I'll lock in a custom white balance setting. This gives me consistent color temperature frame after frame, which is crucial for a professional look.
