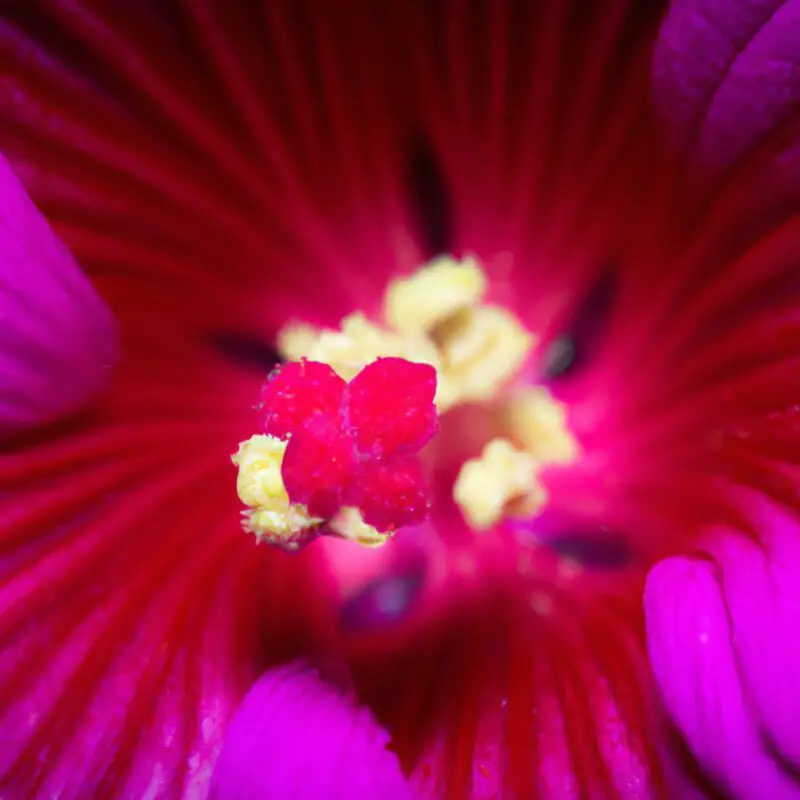
I've always been captivated by the intricate details in close-up photography, and mastering ring flash lighting was a game changer for me.
It's not just about illuminating your subject; it's about sculpting it with precision.
In this article, I'm sharing my top six tips to help you control light, minimize harsh shadows, and highlight the delicate textures in your macro shots.
Whether you're a hobbyist or a pro, these insights will elevate your close-up imagery to stunning new levels.
Table of Contents
ToggleUnderstanding Macro Ring Flash
In the realm of close-up photography, I've found that a macro ring flash is indispensable for providing even, shadowless illumination directly around the lens. It's a powerful tool that lets me control my light source with precision. By encircling my lens, it ensures that light hits my subject from all angles, eliminating harsh shadows and revealing intricate details that other flashes might miss.
I can adjust the intensity and sometimes even the direction of the light, which gives me the flexibility to create the exact look I'm aiming for. Whether I'm capturing the delicate veins of a leaf or the complex eyes of an insect, my macro ring flash is my go-to for consistent, controlled lighting every time.
Adjusting Flash Intensity
Adjusting the intensity of my ring flash is crucial for capturing the perfect close-up. It allows me to fine-tune the lighting to complement the subject's texture and colors. I always start by setting my flash to a lower intensity and gradually increase it, examining the impact on the subject with each adjustment. This methodical approach prevents overexposure and ensures that I don't wash out the intricate details that make a close-up shot compelling.
I pay close attention to the shadows and highlights, as they add depth and dimension to the image. If I notice flat lighting, I'll dial back the intensity. Conversely, if the shadows are too harsh, I'll bump it up a notch. Mastery of flash intensity is all about balance and precision, giving me the control I need for stunning macro photography.
Managing Shadows and Highlights
I frequently find that managing shadows and highlights is as crucial as adjusting the flash intensity itself to create depth in my close-up photographs. To achieve the perfect balance, I follow these steps:
Position the Subject: I carefully consider the placement of my subject relative to the light source. This allows me to manipulate shadows to add dimension and texture.
Modify the Light: I use diffusers or reflectors to soften shadows and reduce harsh highlights. This subtle control can dramatically enhance the subject's details.
Adjust Camera Settings: I tweak my camera's exposure settings, particularly the ISO and aperture, to fine-tune how light affects the shot.
Balancing Ambient Light
When working with ring flash for close-ups, it's essential I balance the flash intensity with the ambient light to maintain a natural look. I've found that the key is to adjust the flash power to complement, not overpower, the existing light. This creates a seamless blend that feels both professional and authentic.
I achieve this by first metering the ambient light without the flash, to understand the baseline exposure. Then, I'll introduce the ring flash at a lower power setting and gradually increase it until I see the desired effect. It's a bit of a dance, tweaking the settings back and forth, but the control it gives me over the final image is absolutely worth it.
Positioning for Optimal Results
After mastering the balance between flash and ambient light, the next step in achieving striking close-ups is nailing the precise placement of the ring flash around the lens.
As someone who craves control in their photography, I've found that optimal positioning is key. Here's how I do it:
Align the ring flash so that it's centered with the camera lens to ensure even lighting and minimize shadows.
Adjust the distance between the flash and the subject. I usually start close, then move back until I find the sweet spot where the light falls perfectly.
Experiment with the angle of the ring flash for creative effects. Sometimes I tilt it slightly to add depth and dimension to my shots.
These steps let me command the light and capture the essence of my subject with precision.
Diffusing Light Effectively
While mastering the positioning of my ring flash has been crucial, I've found that diffusing the light is equally important to soften shadows and reduce glare in my close-up photography. Achieving the right diffusion requires a bit of finesse and the right tools. Here's a quick breakdown:
| Diffuser Type | Effect on Light | Best Used For |
|---|---|---|
| Softbox Attachment | Softer Shadows | Portraits & Skin Tones |
| White Translucent | Gentle Spread | Reflective Surfaces |
| Frosted Diffuser | Even Dispersion | Intricate Details |
Selecting the appropriate diffuser transforms the harshness of a ring flash into a flattering, controlled illumination. It's all about manipulating the light to work for you, ensuring that every shot I take is one step closer to perfection.
