As a painter meticulously chooses the strokes to apply or omit on their canvas, so must you be deliberate in crafting the scenes captured through your lens, ensuring each element contributes to your visual symphony.
You're often faced with the challenge of extraneous objects that creep into your frame, disrupting the harmony of the natural landscape you're so eager to preserve. It's crucial to learn the art of exclusion; whether it's through the strategic positioning of your camera, the careful timing of your shots, or the subtle manipulation of your environment.
You've got a palette of techniques at your disposal, from the initial scouting and composition to the final touches of post-processing. But how do you decide which method to employ when confronted with an unwelcome element?
Stay tuned, as we're about to explore the various tools that can help you achieve the pristine aesthetic you're striving for, and perhaps you'll find that what once seemed like an obstacle could become an unexpected ally in your creative process.
Scouting and Timing
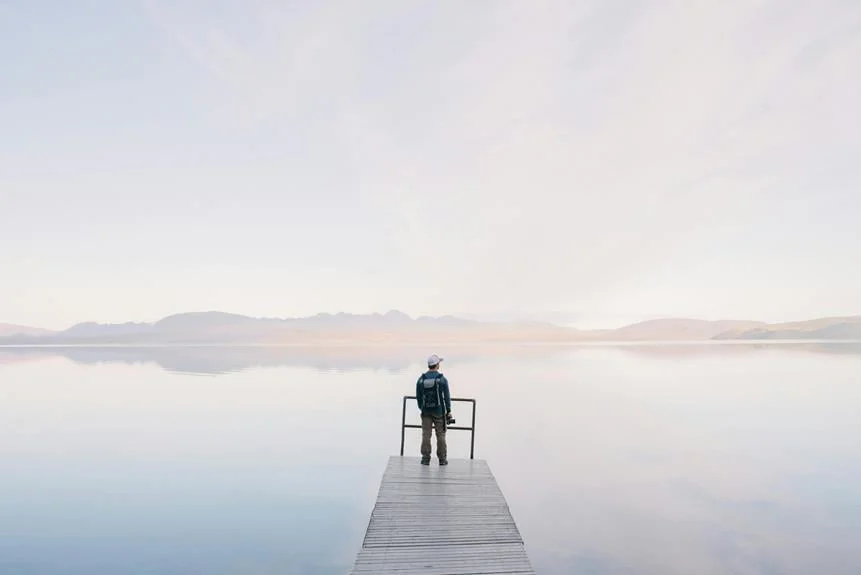
Before you can capture that pristine landscape shot, you'll need to invest time in scouting locations and choosing the right moment to shoot. It's not just about arriving and snapping a picture; it's about being in command of the scene.
You must be proactive. Research your location thoroughly. Harness the power of the internet, study maps, and read up on the best times for lighting and weather conditions. Don't leave it to chance; pinpoint the exact spot where you'll set up your tripod for that compelling composition.
Timing is everything. You're after the golden hour? Make sure you're there when the light is perfect. Want to avoid harsh shadows? You'll need to be on-site when the sun is at the right angle. The control is in your hands to decide the ideal moment when the elements align for your vision.
Composition and Framing
Once you've scouted your location and timed your visit, it's crucial to master composition and framing to transform a good landscape photo into a great one. You want to control every aspect that goes into your frame, ensuring that each element serves a purpose. Remember, what you choose to exclude is just as important as what you include.
To refine your composition, use the rule of thirds to create balance and interest. Imagine your image is divided into nine equal segments by two vertical and two horizontal lines. Place the most important elements along these lines or their intersections. Also, consider the foreground, midground, and background to add depth to your photo.
Framing can further enhance your composition. Use natural elements like trees or archways to create a frame within your frame, focusing the viewer's attention on the main subject.
Here's a table with some quick tips:
| Composition Technique | Description |
|---|---|
| Rule of Thirds | Align subjects with gridlines or intersections. |
| Leading Lines | Use natural lines to guide the eye through the image. |
| Natural Frames | Incorporate elements that enclose the subject. |
Apply these strategies and you'll gain the power to craft visually compelling landscapes that are free from distractions.
Using Natural Elements
Harnessing the power of the landscape itself, you can use natural elements to hide or highlight certain features within your composition. Trees, bushes, and foliage offer a natural way to frame your subject or block out distractions. By positioning yourself strategically, you can let leaves drape over unsightly objects or use a tree trunk to cover an unwanted sign.
When you're out in the field, search for elements that can create a natural vignette, drawing the viewer's eye toward your focal point. Use the curves of hills or the lines of a stream to guide attention through the frame. You have the control to make the viewer see what you want them to see.
You'll also want to consider the timing of your shot. The position of the sun can cast shadows that either obscure or accentuate features. Early morning or late afternoon light can add depth and drama to your landscape, helping to naturally emphasize the components you want to showcase.
In-Camera Techniques
To further refine your landscape images, mastering in-camera techniques can effectively eliminate unwanted elements before you even press the shutter. You've got the power to control your frame and the final look of your photo right from the start. Here's how you can take charge:
- Composition
- *Frame Carefully*: Use your viewfinder to exclude any distracting objects by shifting your position or changing your angle.
- *Zoom or Change Lenses*: Get tighter on your subject or switch to a lens that offers a more flattering perspective.
- Camera Settings
- *Depth of Field*: Adjust your aperture to blur out the background or foreground, making those pesky intruders less noticeable.
- *Shutter Speed*: Use a longer exposure to blur moving elements, like water or clouds, which can help clear out distractions.
Post-Processing Removal
When you’ve captured your landscape images, post-processing software becomes a powerful tool for removing any remaining unwanted elements. You’ll find that with the right removal techniques, you can achieve a clean, natural look that enhances the beauty of your scene.
To streamline your workflow, here's a concise table outlining the essential steps you should follow:
| Step | Tool | Purpose |
|---|---|---|
| 1 | Clone Stamp | For duplicating areas of the image to cover unwanted elements. |
| 2 | Healing Brush | To blend the removed areas with the surrounding pixels. |
| 3 | Content-Aware Fill | For larger areas, letting the software intelligently fill in the space. |
You'll want to zoom in on your image to work with precision. Use the Clone Stamp tool for small distractions, replicating nearby textures and colors. The Healing Brush is perfect when you need a seamless blend; it's like you're erasing the unwanted element without a trace. For bigger distractions, rely on the Content-Aware Fill, which analyzes the surrounding area to create a natural-looking fill.
Conclusion
You've become adept at eradicating distractions in landscape photography. By meticulously scouting your location and selecting the optimal time, you've laid the groundwork for a great shot. Your skills in composition and framing allow you to cleverly utilize natural elements to conceal those parts of the scene you'd rather not highlight.
In-camera techniques afford you the ability to downplay any unwanted aspects effectively, and for those stubborn imperfections, post-processing is your reliable ally. However, it's worth noting that some purists argue that the true art of landscape photography lies in capturing the scene as it is, imperfections and all, believing that this approach conveys a more authentic representation of the natural world.
With these strategies and a touch of controversy in mind, you're geared up to produce pristine landscape images that truly resonate. Do you agree with the purist perspective, or do you feel that removing distractions is essential in creating the perfect landscape photo? Share your thoughts in the comments below.