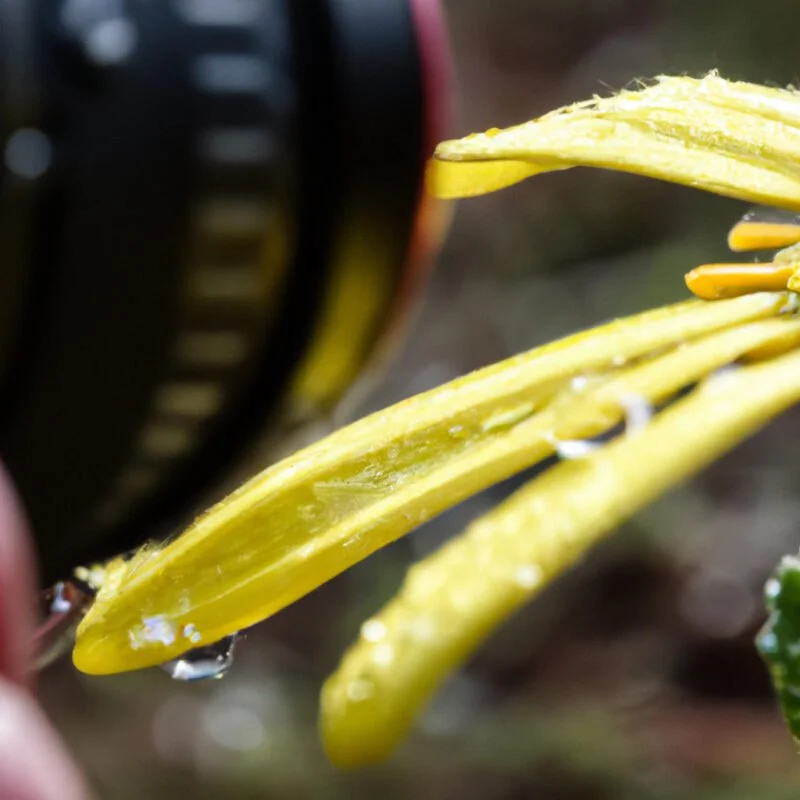
As a photographer who’s obsessed with detail, I’ve learned that nailing sharp focus in close-ups isn’t just about luck. It’s about technique.
I’m going to share four key strategies that’ll give you the control you crave. From mastering manual focus to tweaking depth of field, stabilizing your shots, and finessing lighting, these tips will transform your close-up photography.
Get ready to capture the crisp, detailed images you’ve been aiming for. Let’s dive in.
Utilizing Manual Focus
In my experience, a camera’s manual focus feature is essential for achieving the precise sharpness needed in close-up photography. When I’m framing a shot, the smallest details matter. Autofocus can be hit-or-miss, especially with intricate subjects. That’s why I take control with manual focus. It lets me zero in on the exact point I want sharp, be it the dew on a spider web or the texture of a butterfly’s wing.
I carefully adjust the focus ring, watching the changes in the viewfinder or on my LCD screen. It’s a game of millimeters, but when I nail the focus, the results are worth it. The image pops with clarity that I simply wouldn’t get if I left it to the camera’s guesswork.
Controlling Depth of Field
Following on from mastering manual focus, I’ve found that controlling depth of field is a powerful tool to direct the viewer’s attention in close-up images. By adjusting the aperture, I can decide exactly how much of the shot is in sharp focus.
A wide aperture, like f/2.8, gives me a shallow depth of field, which is perfect for isolating my subject against a blurred background. It’s a deliberate choice that ensures distractions fall away, spotlighting what’s important.
Conversely, when I need everything crisp, from the foreground to the background, I’ll stop down to a smaller aperture, such as f/16. It’s a precise balance. Knowing the effect each aperture setting has lets me craft the exact visual story I’m aiming for, with no room for guesswork.
Stabilization Strategies
Having established the right aperture, I’ll next focus on stabilization strategies to ensure my close-ups remain tack sharp. Achieving a sharp image isn’t just about camera settings; it’s about controlling every variable that could introduce blur. Here’s how I lock down stability:
Use a Tripod: This is my steadfast partner in the quest for clarity. A solid tripod banishes the tremble of hands, providing an immovable foundation for my camera.
Cable Release or Timer: I minimize contact with my camera to prevent vibration. A cable release or a timer does the job perfectly.
Mirror Lock-Up: For SLR cameras, I engage this feature to reduce internal vibrations caused by mirror slap.
You might also enjoy our guide on 8 Expert Ring Flash Tips for Close-Up Photography for more related insights.
Steady Breathing: Even when hand-holding, I use controlled breathing to become a human tripod, ensuring my movements don’t cost me the perfect shot.
Lighting and Contrast Adjustment
Before adjusting my camera’s focus, I ensure the lighting accentuates my subject, optimizing contrast for a sharper image. I’m meticulous about how shadows and highlights play across the details I’m aiming to capture. Proper lighting isn’t just about brightness; it’s about directing the viewer’s eye and creating depth that makes my subject pop against the background.
I often use reflectors to bounce light, filling in unwanted shadows, and diffusers to soften harsh spots. Adjusting the contrast in-camera or post-production allows me to fine-tune the sharpness. I’m not just taking a picture; I’m sculpting the light to enhance textures and edges.
It’s this control over lighting and contrast that transforms a good close-up into a great one, brimming with clarity and impact.
Extending Sharpness: Focus Stacking, Distance, and Lens Choice
Beyond a single aperture setting, I lean on focus stacking when I need more of a subject sharp than one frame allows: I shoot multiple images at incrementally different focus distances, then blend them in software to combine only the sharp areas from each. It’s indispensable for macro work where stopping the aperture down far enough to get it all in one shot would introduce diffraction softness instead.
Subject distance matters too—the closer I get to my subject, the shallower my depth of field becomes, which is great for isolating a subject against a soft background, but I’ll step back when I need more of the scene to stay in focus. And lens choice compounds both effects: I reach for a dedicated macro lens (generally 50–200mm) for extreme close-ups with fine detail, and a longer focal length specifically to compress the scene and blur the background so the subject pops.
Composition Techniques for Close-Ups
Sharp focus only matters if the frame directs the eye to it. I apply the rule of thirds by aligning the subject with the grid’s intersecting points rather than dead-centering it, which keeps the image balanced and puts me in control of where the viewer looks first. I also lean on negative space: decluttering the background, balancing the subject against the empty area, and letting that emptiness lead the eye straight to the focal point instead of fighting it for attention.
Leading lines and curves are the last piece—I look for natural lines within the subject that create a pathway toward the point of interest, arrange the shot so they create a dynamic flow rather than a static one, and use curves specifically in nature close-ups to add a sense of organic structure.