Welcome to "Mastering Timelapse Photography: An 8-Step Guide." This comprehensive article is designed to provide you with the knowledge and skills necessary to create breathtaking timelapse sequences. Whether you are a beginner or an experienced photographer, this guide will equip you with the essential techniques and tools needed to capture and edit stunning timelapse footage. With step-by-step instructions and expert tips, you will gain control over the art of timelapse photography and unlock endless creative possibilities. Get ready to elevate your photography skills to new heights.
Understanding Timelapse Basics
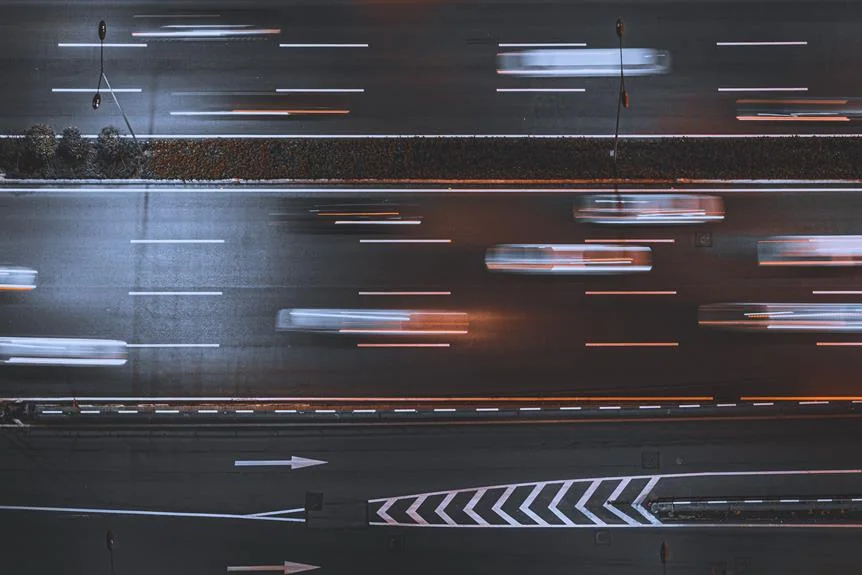
In order to fully grasp the technique of timelapse photography, it is essential to have a thorough understanding of the fundamental principles and concepts involved. Timelapse photography is the process of capturing a series of still images at regular intervals and then combining them into a time-lapse video. The key principle behind timelapse photography is the concept of time compression, where a long period of time is condensed into a short video clip. To achieve this, the interval between each photo must be consistent, and the camera settings, such as exposure and focus, need to be locked. Additionally, capturing a scene with movement, such as clouds or people, can add visual interest to the final timelapse video. Understanding these basics will serve as a solid foundation for mastering the art of timelapse photography.
Choosing the Right Equipment
To ensure optimal results, selecting the appropriate equipment is crucial when delving into the realm of timelapse photography. For photographers who desire control over every aspect of their work, it is essential to choose equipment that offers the necessary features and capabilities. When it comes to cameras, look for models with manual exposure settings, as these will allow you to have full control over the exposure settings for each frame. Additionally, a sturdy tripod is a must-have to ensure stability and eliminate any unwanted camera movement during the timelapse sequence. To capture a wide range of scenes, consider investing in a lens with a versatile focal length. Lastly, a reliable intervalometer will enable you to program the desired time intervals between shots. By carefully selecting the right equipment, you can achieve the desired level of control and produce stunning timelapse photographs.
Setting Up Your Camera
After selecting the appropriate equipment, the next step in mastering timelapse photography is to set up your camera. This crucial step requires attention to detail and precision to ensure optimal results. Begin by mounting your camera securely on a stable tripod to minimize movement and vibrations during the timelapse. Set the camera to manual mode, allowing you to have full control over the exposure settings. Select an appropriate aperture, shutter speed, and ISO based on the desired effect and lighting conditions. Consider using a remote shutter release or intervalometer to automate the process and avoid any camera shake caused by manually pressing the shutter button. Lastly, double-check your camera settings and make any necessary adjustments before pressing the start button to begin capturing your timelapse sequence.
Capturing the Perfect Timelapse
To achieve the perfect timelapse, employ careful planning and execution. The key to capturing a flawless timelapse lies in meticulous attention to detail. Start by scouting the location and selecting a subject that will provide interesting movement or changes over time. Consider the composition, lighting, and potential obstacles that may affect the final result. Next, determine the ideal interval between shots based on the speed of movement you wish to capture. Use a sturdy tripod and ensure the camera is level and stable. Set the appropriate exposure settings and focus manually to maintain consistency throughout the sequence. Lastly, allow ample time for the timelapse to unfold, ensuring that you have enough battery power and memory card space to capture the desired duration. By following these steps, you can achieve the perfect timelapse.
Editing and Post-Processing Techniques
Continuing the exploration of timelapse photography, we now delve into the realm of editing and post-processing techniques, refining the captured footage to achieve the desired visual outcome. For photographers who desire control over their final product, editing and post-processing are essential steps in the timelapse workflow. During this stage, it is possible to enhance the overall image quality, correct any exposure or color imbalances, and even add creative effects to make the timelapse more visually appealing. Popular software options for editing and post-processing timelapse footage include Adobe Lightroom, Adobe Photoshop, and LRTimelapse. These tools offer a range of features, such as batch processing, advanced color correction, and the ability to create smooth transitions between frames. By mastering these editing and post-processing techniques, photographers can truly elevate their timelapse photography to the next level.