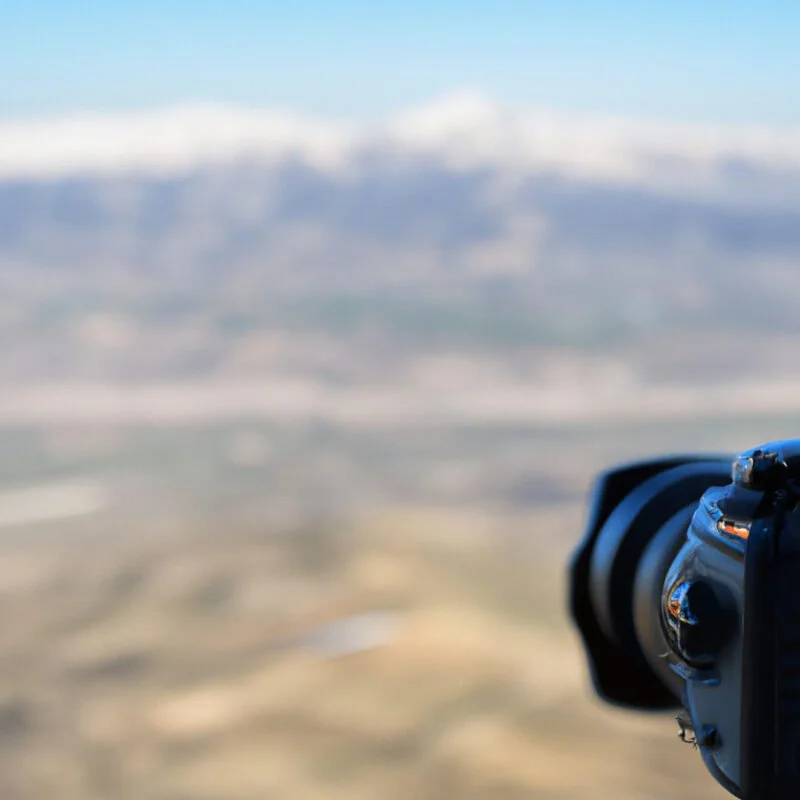
I'm here to guide you through mastering your camera's settings for stunning mountain landscapes.
Whether you're battling harsh sunlight or capturing delicate dawn hues, I'll show you how to nail the perfect shot.
We'll dive into aperture, shutter speed, and ISO to ensure your images are crisp and vibrant.
Ready your gear; it's time to take control and transform those towering peaks into breathtaking masterpieces with my top 11 essential camera settings.
Let's get started!
Table of Contents
ToggleAperture for Depth of Field
Considering aperture, I've found setting it between f/8 and f/16 maximizes depth of field, ensuring both the foreground and distant peaks are sharply in focus. It's a sweet spot that gives me the control I'm after, especially in complex mountain landscapes where I need to nail the sharpness throughout the scene.
I don't settle for guesswork; I use my camera's depth of field preview button to fine-tune the focus. By adjusting to within this range, diffraction is minimal, and I get the clear, crisp results I demand.
I'm not just capturing images; I'm crafting vistas that demand attention. Every element, from the rocks at my feet to the clouds caressing the mountaintops, stands out with intention. It's precision that sets my photography apart.
Shutter Speed for Motion
To capture the dynamism of flowing water or wind-swept grasses in the mountains, I often adjust my shutter speed to a specific value that balances motion blur with sharpness. For silky water effects, I'll go for a slower shutter speed, perhaps around 1/15th of a second or even several seconds with a neutral density filter. When I want to freeze the motion of a cascading waterfall or rustling leaves, I'll bump up the speed to 1/250th of a second or faster.
It's crucial to have a tripod for stability, especially with slower shutter speeds to prevent camera shake. I always review my shots right there, tweaking the settings as needed to ensure I've nailed the look I'm after. Control over shutter speed lets me convey movement in my mountain landscapes precisely as I envision.
ISO for Image Quality
Adjusting the ISO is my next step in refining image quality, as it directly affects the noise level and detail in my mountain landscapes. I aim for the lowest ISO possible to maintain crisp, clear shots. Higher ISOs can introduce unwanted grain, which detracts from the pristine nature of the mountains.
Here's a quick reference table to guide your ISO settings:
| ISO Value | Expected Quality |
|---|---|
| 100-200 | Highest quality, minimal noise |
| 200-400 | Excellent quality, very little noise |
| 400-800 | Good for low light, slight noise increase |
| 800-1600 | Moderate noise, useful for dim conditions |
| 1600+ | High noise, last resort for low light |
I always assess the light and adjust accordingly, prioritizing image clarity over convenience. This control is paramount in capturing the true majesty of the mountains.
White Balance Adjustments
I always make sure to adjust the white balance setting to match the mountain's ambient lighting conditions, ensuring the colors in my photographs are true to life. When you're out in the wilderness, the light can change dramatically, and it's vital to have control over how your camera interprets those shifts. Here are some key points to remember:
- Use a gray card for accurate white balance in mixed lighting.
- Consider the time of day; golden hour light requires different settings than midday sun.
- Experiment with bracketing white balance for challenging conditions.
- Keep an eye on the color of shadows, as they can influence the overall mood.
- Don't rely on auto white balance; take control for the best results.
In mountain photography, fine-tuning white balance can make or break your image.
Focusing Techniques
Every bit as crucial as white balance, my focusing approach must be precise to capture the sharp details of mountain landscapes. I typically use manual focus to maintain complete control, especially in complex scenes where autofocus might get confused by elements like moving water or foliage. I'll often select a small aperture, such as f/11 or f/16, to achieve a deep depth of field, ensuring that both foreground and distant peaks are in sharp focus.
For critical sharpness, I rely on my camera's live view and zoom in on a key detail, adjusting the focus ring until the feature is crystal clear. I also apply hyperfocal focusing when I want to maximize depth of field, which guarantees that my photos have front-to-back sharpness, an essential aspect of compelling mountain imagery.
Exposure Compensation
In challenging lighting conditions on the mountainside, I'll often turn to exposure compensation to ensure my shots are neither too bright nor too dark. This handy feature allows me to adjust the exposure level on the fly, giving me the control I need over the final image. Here's why it's indispensable:
- Quickly corrects exposure without fumbling through menus
- Allows for real-time adjustments in unpredictable lighting
- Helps preserve detail in highlights and shadows
- Enables creative control over the mood and atmosphere
- Essential for adapting to the reflective nature of snow or water
Use of Histograms
Histograms are a crucial tool I rely on to visually ensure my mountain landscape exposures are accurate. This graphical representation displays the tonal values of my shot, from darkest to lightest. I aim for a well-balanced histogram, avoiding any clipping on the shadows or highlights that indicate lost detail.
When capturing the vast dynamic range of mountains, I watch for the histogram's shape to spread across the scale, ensuring all elements are well represented.
I adjust my camera settings based on the histogram feedback. If it's skewed too far to the left or right, I'll tweak my exposure to bring it towards the center. This gives me confidence that I'm capturing all the nuances of the scene before me, from the subtle shadows in the valleys to the brightest snowcaps.
Lens Selection
I choose my lenses carefully, as they're pivotal in capturing the grandeur and detail of mountain landscapes. The right lens can make or break your shot, offering control over composition and the story you're telling.
Wide-angle lenses are my go-to for sweeping vistas, while telephoto lenses help isolate distant peaks, creating drama. A fast aperture is crucial for low light at dawn or dusk, and image stabilization gives me that extra edge for sharp handheld shots.
Here's what to consider:
- Wide-Angle Lens: For expansive landscapes
- Telephoto Lens: To compress space and focus on details
- Fast Aperture: For low light conditions
- Image Stabilization: For sharp images without a tripod
- Lens Quality: To ensure corner-to-corner sharpness
Filter Applications
Beyond choosing the right lenses, I've found that applying the correct filters is essential for enhancing mountain landscape photos. When I'm out in the field, I reach for a polarizing filter to manage reflections and boost the saturation of the sky. It gives me control over the glare and helps in capturing the deep, true blues above and the vivid colors of the terrain.
I also use graduated neutral density (GND) filters frequently. They're crucial for balancing the exposure between a bright sky and a darker landscape. I can selectively darken the sky while maintaining proper exposure in the land, which means I don't have to compromise on any part of my image. It's all about having the power to capture the scene as I see it, with no concessions.
Remote Shutter Release
During long exposure shots, a remote shutter release is an indispensable tool for preventing camera shake and ensuring sharp images of mountain landscapes. This tiny gadget allows me to trigger my camera's shutter without physically touching the camera, thus avoiding any unintentional movement that can blur my photos.
Here's why you'll want to use one:
- Eliminates camera shake: Ensures crisp photos, especially during those critical moments of dawn or dusk.
- Enables long exposures: Essential for capturing smooth water or cloud movement.
- Prevents physical contact: Keeps the camera steady on uneven terrain.
- Increases flexibility: Lets you step away from the camera, which is handy in harsh weather conditions.
- Facilitates HDR & panorama: Simplifies the process of shooting multiple exposures or wide scenes.
Harnessing this control, I'm confident I'll nail the perfect shot, every time.
Bracketing for HDR
Often, when striving for the highest dynamic range in my mountain landscape photos, I turn to bracketing, a technique that involves taking multiple shots at different exposures. By capturing a sequence of images, each at various exposure levels, I can blend them into a single High Dynamic Range (HDR) photo during post-processing. This ensures that I retain detail in both the darkest shadows and the brightest highlights, which is often a challenge in the contrast-rich environments of mountain landscapes.
I meticulously adjust my camera's exposure value (EV) settings, usually in one-stop increments, to get a range of underexposed to overexposed images. It's a powerful way to overcome the limitations of my camera's sensor and gives me the ultimate control in post-production to craft a perfectly balanced exposure.