As a passionate photographer, I've learned that mastering landscape shots is all about control. I'm here to share my top 11 rules that'll transform your framing skills.
We'll dive into the rule of thirds, play with foreground interest, and perfect horizon lines.
I'll show you how to lead the viewer's eye and use light and shadows to your advantage.
Ready to command your landscape photography? Let's sharpen those shots together!
Rule of Thirds Application
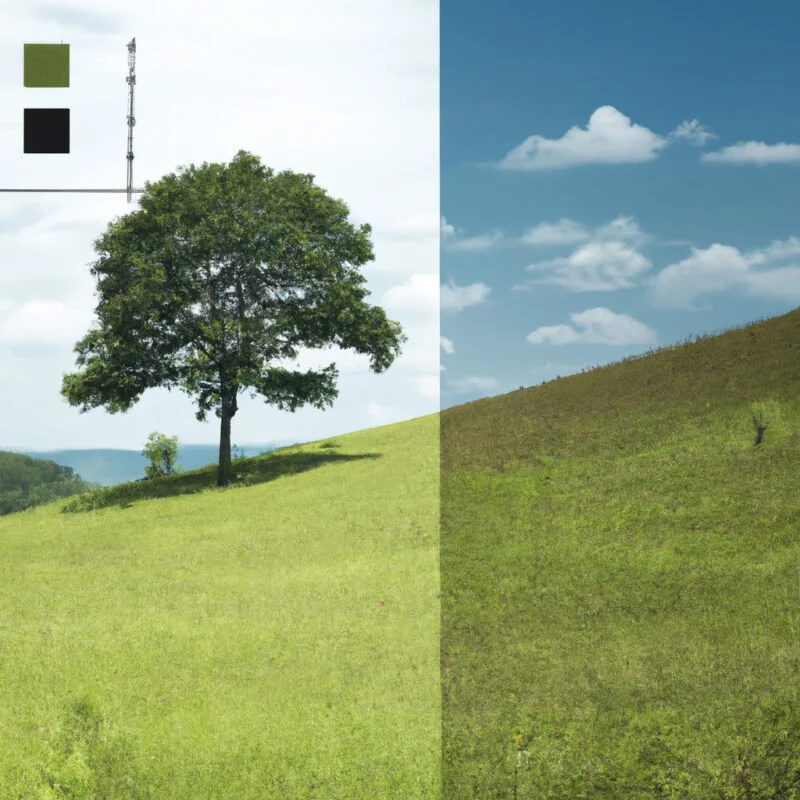
The Rule of Thirds is a compositional technique I consistently apply to create balanced and engaging landscape photographs. By envisioning my frame divided into nine equal segments, I place key elements of the scene along these lines or their intersections. This strategic placement isn't arbitrary; it's a calculated move to grab a viewer's attention and guide their eye through the image.
I've mastered this technique to exert control over my compositions, ensuring they're not left to chance. It allows me to convey stories within my landscapes, making the viewer linger and explore every part of the frame. Whether it's a solitary tree or a rugged mountain range, I position these subjects where they'll make the most impact. That's the power I wield with the Rule of Thirds—total command over the viewer's experience.
Maximizing Foreground Interest

Harnessing the often-overlooked power of a compelling foreground, I elevate my landscape shots from simple scenes to captivating experiences. I meticulously choose elements that lead the viewer's eye into the scene, creating depth and a sense of place.
It's not just about capturing the vastness of a landscape; it's about giving the viewer a doorway into the picture.
I often scout for rocks, flowers, or even patterns in the grass to serve as this entry point. By placing them strategically within my frame, I ensure they complement, not compete with, the background.
It's a deliberate choice to frame the shot so that every layer plays a role in the story I'm telling. This approach gives me control over the visual journey and the final impact of the image.
Horizon Line Placement

In framing my landscape shots, I'm mindful of where I place the horizon line, as it can dramatically alter the composition and balance of the image. I know a centered horizon can sometimes split the photo in two, which may hinder the desired effect. So, I often follow the rule of thirds to ensure dynamism and interest. Placing the horizon on the top or bottom third of the frame allows me to emphasize either the sky or the land.
I make sure that the horizon is level; a tilted horizon can unnervingly throw off the sense of stability in my shots. I take control of the viewer's attention by either pulling their gaze into a vast sky or grounding them with a strong, detailed foreground. This conscious placement turns a good shot into a captivating story.
Leading Lines Usage

I also harness the power of leading lines to guide the viewer's eye through the landscape, creating depth and perspective in my compositions. These lines can be anything from a winding road to a row of trees. They're not just visual aids; they're the director's cues that pull your attention to the focal points I've chosen.
Here's how I make leading lines work to my advantage:
- Identify natural or man-made lines during composition.
- Position these lines to create a visual path from the foreground to the background.
- Use lines to point towards the main subject of the landscape.
- Ensure the lines create a dynamic yet balanced flow within the frame.
Natural Framing Techniques

Another technique I frequently employ to elevate my landscape shots is natural framing. This involves using elements within the environment to encase the main subject, adding depth and focus to the scene.
I seek out doorways, arches, or even overhanging branches that naturally draw the viewer's eye toward the focal point, creating a more compelling composition. By deliberately choosing these frames, I'm in control, guiding the observer's gaze and emphasizing the parts of the landscape I want to highlight.
I carefully position myself to ensure the natural frame doesn't overshadow the main subject. It's a balance — the frame should complement, not compete. I often adjust my angle or aperture to perfect the shot, asserting control over the final image.
Through natural framing, I master the scene's narrative.
Depth Layering Essentials

Utilizing depth layering in my landscape photography, I've found that carefully arranging foreground, midground, and background elements can create a strong sense of three-dimensionality. This technique draws the viewer's eye through the scene, establishing a clear visual journey.
Here are my go-to strategies:
Incorporate Leading Lines: Use natural lines, like paths or rivers, to guide the viewer's gaze from the foreground deep into the scene.
Play with Textures: Contrast the fine textures of the foreground against the smoother midground or distant background.
Leverage Light and Shadow: Skillfully balance light and shadows to delineate layers and add depth.
Use Scale Wisely: Include an object of known size to provide perspective and emphasize the vastness of the landscape.
Symmetry and Patterns

Harnessing the power of symmetry and patterns, I've discovered that these compositional elements can dramatically enhance the visual appeal of landscape shots. By deliberately aligning the natural lines and shapes within my frame, I create a sense of order that resonates with viewers who crave control in their visual experiences.
To illustrate, let's visualize a scene laid out in a table format:
| Left Side | Center | Right Side |
|---|---|---|
| Reflecting Water | Towering Mountain | Reflecting Water |
| Blooming Flowers | Symmetrical Path | Blooming Flowers |
| Textured Rocks | Ancient Tree | Textured Rocks |
This table represents a balanced composition. Each column echoes the others, creating a rhythmic pattern that leads the eye through the scene. By mastering symmetry and patterns, I give my audience a commanding view of nature's magnificence.
Balancing Elements

Building on the concept of symmetry, I've learned that balancing elements in a landscape shot is equally crucial for capturing a scene that feels both dynamic and harmonious. Achieving this balance isn't about mirroring each side of your composition, but rather arranging the visual weight to create a photograph that guides the viewer's eye naturally through the image.
Here's how I maintain control and ensure balance:
Anchor the Scene: Place a strong subject in the foreground to give the shot a sense of depth.
Spread the Weight: Distribute interesting elements throughout the frame to avoid lopsided compositions.
Leverage Negative Space: Use open areas to contrast and balance busier parts of the scene.
Mind the Horizon: Keep it level to avoid a disorienting effect that can throw off balance.
Light and Shadow Dynamics

In the early hours of morning light, I've discovered that the interplay between light and shadow can dramatically transform a landscape photograph. These elements are my tools to shape the mood and depth of my shots. I harness the soft, diffused light of dawn to reveal subtle textures, and I use the harsh, directional midday rays to create striking contrasts.
I'm always mindful of the position of the sun, waiting for that perfect moment when light edges over a ridge or pierces through a canopy, casting long, defining shadows that give a sense of scale and drama. It's about control – manipulating these dynamics to guide the viewer's eye and evoke emotions. Every shadow, every highlight is a deliberate choice in my storytelling.
Color and Contrast Control

Frequently, I find that the mastery of color and contrast is just as crucial as understanding light and shadow, shaping how vividly a landscape resonates with its viewer.
To harness these elements effectively:
Scout for Complementary Colors: I seek out scenes where colors opposite each other on the color wheel are present, creating a dynamic visual tension.
Utilize the Golden and Blue Hours: I shoot during times when the light casts a warm or cool hue, enhancing natural contrasts.
Employ Post-Processing Techniques: I don't shy away from adjusting the vibrancy and contrast sliders to bring out the best in my images.
Embrace Weather Conditions: I use the unique lighting conditions before and after storms to capture enhanced contrast and saturated colors.
Control over these aspects ensures my landscape photos are impactful and memorable.
Space for Movement

Capturing the essence of motion in landscapes often requires me to consider the space I allocate for movement within the frame. I've learned it's crucial to anticipate where elements like flowing water, swaying trees, or roaming wildlife are heading. I give these subjects ample room in the direction they're moving towards; this not only conveys a sense of ongoing action but also guides the viewer's eye through the scene.
I meticulously compose my shots to balance movement and stillness, ensuring that dynamic elements don't overwhelm the viewer. It's about mastering the art of suggestion—allowing enough space for movement to create a compelling narrative without losing the frame's structure. Every inch of space counts, and I wield it deliberately to achieve the desired effect.