I'm always chasing that perfect shot, you know, the one with crystal-clear detail that makes your subject pop.
It's not just about snapping a picture; it's the magic that happens in editing where the real transformation occurs.
In this guide, I've compiled 13 essential tips to elevate the clarity of your macro photos.
Whether you're a pro or just starting, these tricks will give you the control to bring your images into sharp focus.
Let's dive in!
Sharpening Techniques Applied
I'll start by exploring various sharpening techniques that can transform a macro photograph from soft to strikingly clear. My go-to tool is the unsharp mask in Photoshop. It lets me pinpoint the exact amount of sharpening by adjusting the radius and threshold levels. This way, I'm in full command, ensuring the details pop without introducing noise.
I also employ high pass sharpening for its precision. By overlaying a high pass layer, I can selectively apply sharpening to just the areas that need it, like the intricate veins of a leaf or the fine hairs on an insect. This targeted approach gives me the power to enhance specific aspects of my macro shots, making them leap off the screen with vivid clarity.
Noise Reduction Strategies
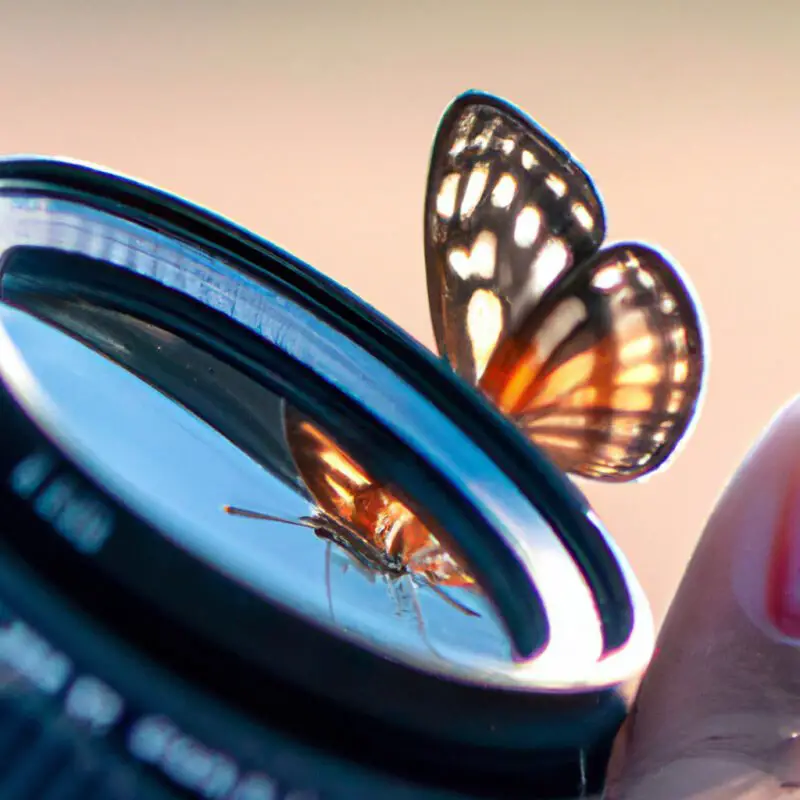
Having tackled sharpening, I'm now turning my attention to noise reduction, a crucial step in preserving image quality while enhancing detail in macro photography. It's essential to minimize noise without blurring the fine details that make macro shots so captivating.
I always start by shooting at the lowest possible ISO to reduce noise from the get-go. In post-processing, I'll selectively apply noise reduction, focusing on areas with less detail, like backgrounds, while protecting the subject's sharp edges.
I prefer using editing software that allows for meticulous adjustment, enabling me to balance noise smoothing with detail preservation. I'll often zoom in and tweak the settings until I find the sweet spot. It's a delicate dance, but with practice, you'll maintain that crisp, clear quality your macro images deserve.
Contrast Adjustments for Detail
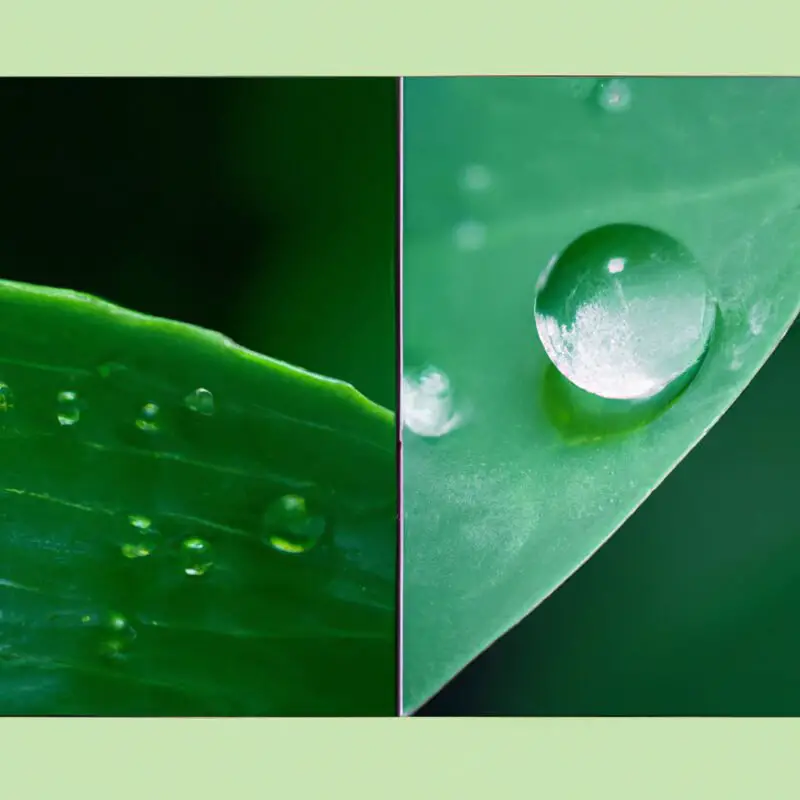
After reducing noise, I'll next adjust the contrast to make every tiny detail pop in my macro photographs. It's a deliberate process that involves fine-tuning the balance between the lights and darks.
High contrast will emphasize the textures and edges, giving a sense of depth that's crucial in macro photography. I won't just crank up the contrast slider; instead, I'll selectively enhance it using curves or levels to maintain control over the end result.
By manipulating the contrast, I ensure that the subject stands out without the image becoming overly harsh. It's about finding that sweet spot where the details are accentuated without losing subtlety in the shadows and highlights.
This technique transforms a flat image into a dynamic one that commands attention.
Clarity Slider Utilization
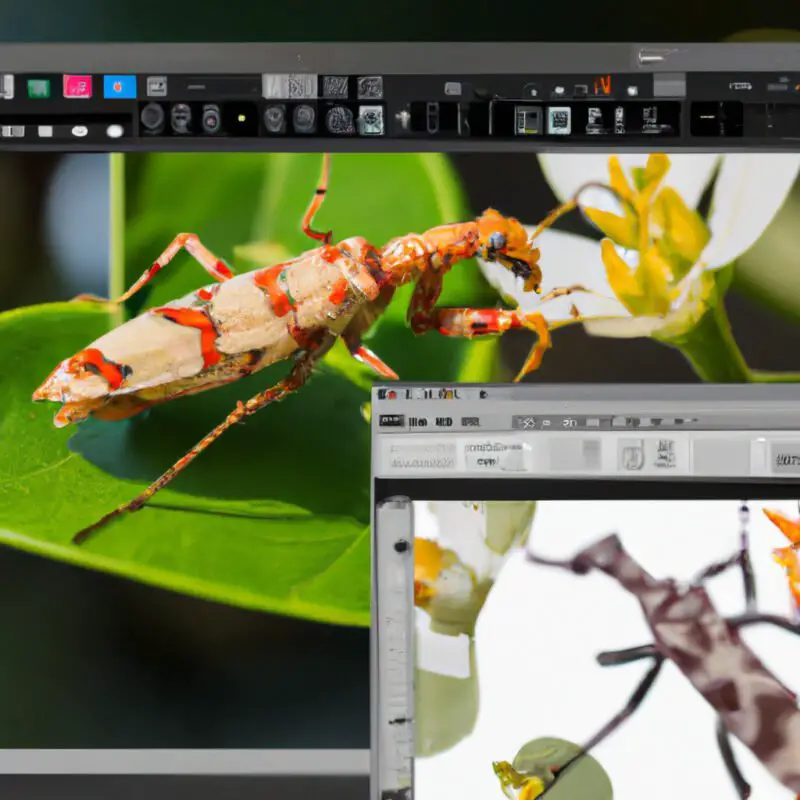
Once I've fine-tuned the contrast, I turn to the clarity slider to further define the textures and details in my macro shots. This tool is my go-to for making those minute features pop without overdoing it. Here's how I harness its power:
I aim for subtlety; a light touch often does the trick.
Pushing the slider slightly to the right accentuates:
The intricate lines of a leaf's pattern
The delicate fibers on a butterfly's wing
Pulling it back can soften:
Overly harsh edges that detract from the main subject
Background noise that might overwhelm the scene
I'm careful not to over-apply, as too much clarity can create an unnatural, gritty look. It's about striking that perfect balance for an image that commands attention.
Focus Stacking for Sharpness
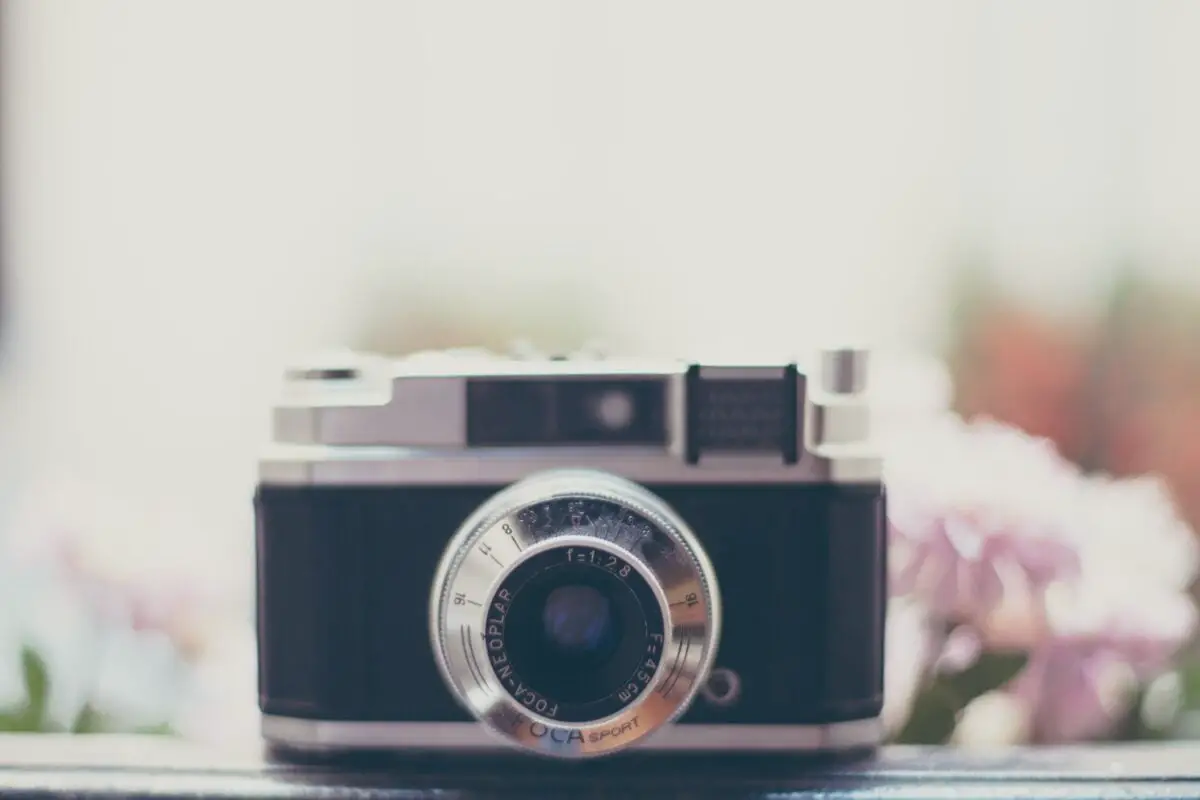
To further enhance my macro photography's crispness, I often turn to focus stacking, a technique that merges multiple images taken at different focus points to achieve a uniformly sharp subject. This method allows me to take control of the depth of field limitations inherent in macro photography.
By capturing a series of shots, each with a slightly different focus point, and then combining them in post-processing software, I can create an image where the entire subject is in sharp focus, from front to back.
Executing focus stacking requires precision and patience. I meticulously adjust the focus point for each shot and use a tripod to ensure consistency. The resulting set of images, once blended, gives me the ultimate sharpness I'm after, with no compromise on detail.
Depth of Field Optimization
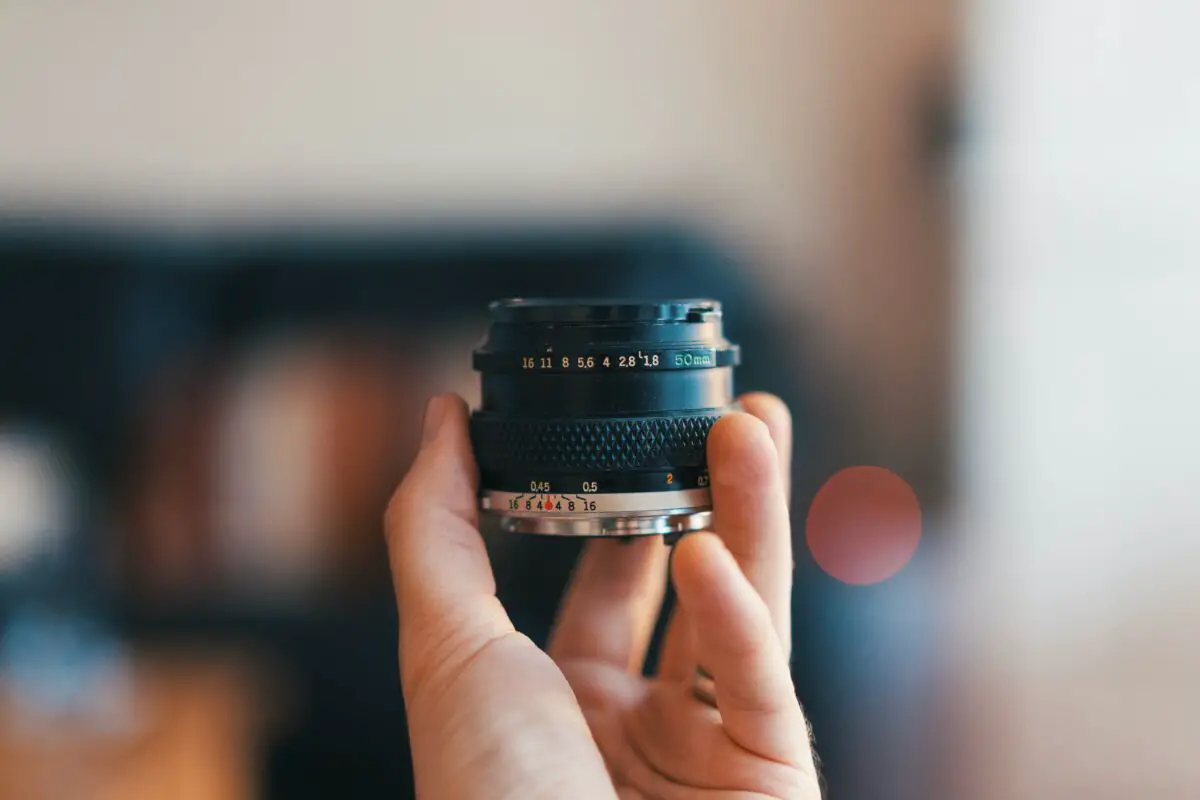
Aperture adjustments are crucial in optimizing depth of field for my macro photographs, enabling me to highlight the subject while softly blurring the background. By carefully selecting the right f-stop, I gain precise control over which elements stay sharp and which meld into dreamy bokeh.
Mastering the sweet spot:
I look for the ideal aperture where my subject is tack-sharp.
I balance this against a sufficiently blurred backdrop, which makes the subject pop.
Controlling the narrative:
A wide aperture conveys a sense of intimacy, focusing on minute details.
A narrower setting includes more context, revealing the subject's environment.
Through these adjustments, I dictate the story my image tells, ensuring the viewer's eye is drawn exactly where I want it.
Proper Cropping for Emphasis
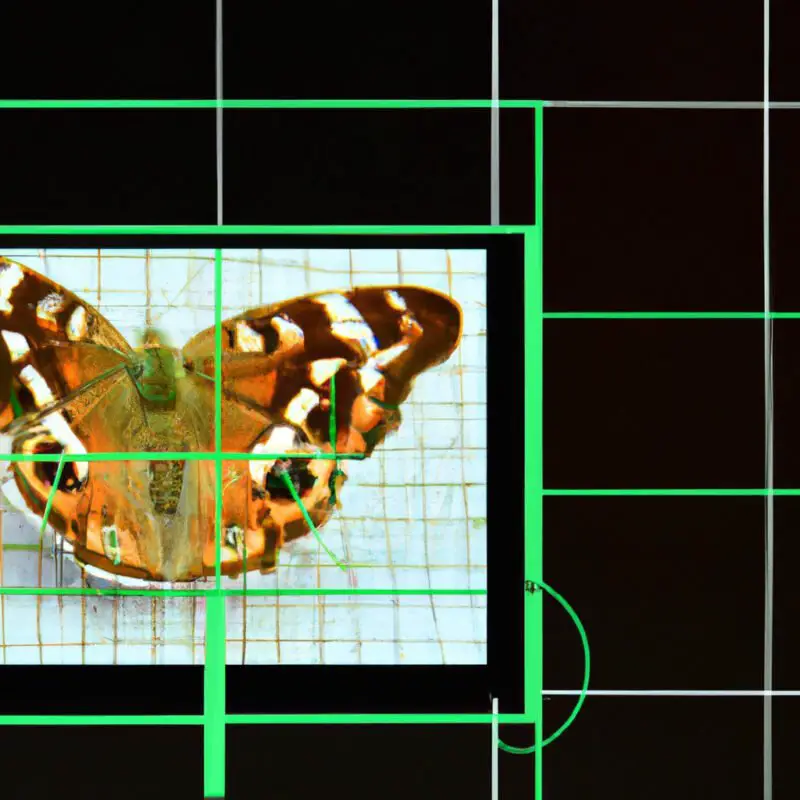
After mastering the aperture settings, I've found that judicious cropping further accentuates my subject's sharpness against the soft background. It's all about control—deciding exactly what to keep in the frame to guide the viewer's eye. Strategic cropping can amplify the subject, eliminate distractions, and enhance the overall composition.
To sharpen my point, here's a table contrasting the effects of different cropping approaches:
| Cropping Approach | Impact on Photo |
|---|---|
| Tight Crop | Highlights details, creates intimacy |
| Rule of Thirds Crop | Balances composition, adds interest |
| Diagonal Balance Crop | Infuses dynamic tension |
| Aspect Ratio Adjustment | Tailors visual flow, adapts to format |
Each technique offers a unique way to wield control over my image's narrative. I make sure to crop with a clear intention, refining my macro photography to near perfection.
Color Balance for Realism

Once I've refined the composition through cropping, I turn my attention to color balance to ensure the hues in my macro photos look as true to life as possible. Achieving realistic colors isn't just about aesthetics; it's about control and precision, allowing my viewers to experience the subject as if they're seeing it with their own eyes.
- Adjust the White Balance:
- For sunlit daisy petals that should radiate a pure, crisp white rather than a cold, bluish tint.
- For the vibrant green of a beetle's shell that can lose its lustre under incorrect lighting.
I meticulously tweak the sliders, guiding each color to its rightful shade, ensuring the final image commands the authenticity and depth that I strive for. Control over color balance is key to transforming a good macro shot into a great one.
Utilizing the Histogram for Clarity
I always consult the histogram to ensure every pixel of my macro photograph is optimally exposed, avoiding both underexposure and overexposure that can diminish image clarity. The histogram is my guide to achieving perfect exposure, which is crucial for clarity in macro photography.
I carefully adjust my exposure settings until the histogram displays a balanced spread without clipping on either end. I ensure there's no significant spike at the edges, which would indicate lost details in shadows or highlights. This control allows me to capture all the fine details that are essential in macro photography.
Lens Correction Adjustments
Having mastered the histogram to secure optimal exposure, I now turn to lens correction adjustments to further sharpen the image and rectify any lens-induced distortions. Precise editing is key to taking control of the final image quality.
Here's how I enhance clarity through lens corrections:
Chromatic Aberration Removal
Imagine the edges of your subject free from those pesky color fringes.
Visualize the purity of color transition, as seamless as nature intended.
Distortion Correction
Picture a world where barrel distortion doesn't bulge your subject.
Envision the straight lines of reality, undistorted and true to form.
Micro-Contrast Enhancements
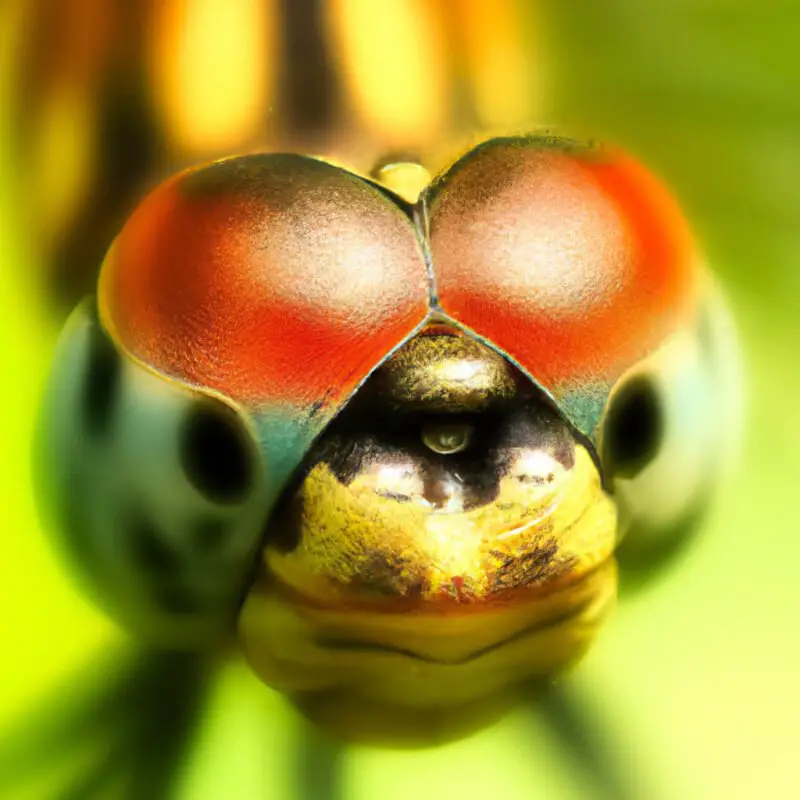
After correcting lens distortions, I now focus on enhancing micro-contrast to bring out the fine textures and minute details that make macro photography so captivating. I meticulously adjust the contrast on a much smaller scale than usual, which affects the perceived sharpness and depth in the image. It's a powerful tool that allows me to emphasize subtleties without altering the overall mood or light balance of the photo.
I'll typically use a high-pass filter or an adjustment layer in my editing software to selectively tweak the contrast. This lets me target specific areas where I want to accentuate details. It's a delicate process, but when done right, it's like revealing a hidden world within my macro shots.
I always ensure that these adjustments don't introduce unwanted noise or artifacts, maintaining the integrity of my image.
Selective Sharpening Application

To further refine my macro images, I apply selective sharpening to areas that will benefit most from added crispness, ensuring that the focus remains on the subject without oversharpening the entire frame.
- Sharpening the right spots
- The delicate veins in a butterfly's wings
- The tiny dewdrops clinging to a spider's web
This technique gives me precision, allowing me to draw the viewer's eye exactly where I want it. I'm not just adding detail; I'm creating a pathway for the audience to navigate the intricacies of my subject.
Export Settings for Maximum Clarity
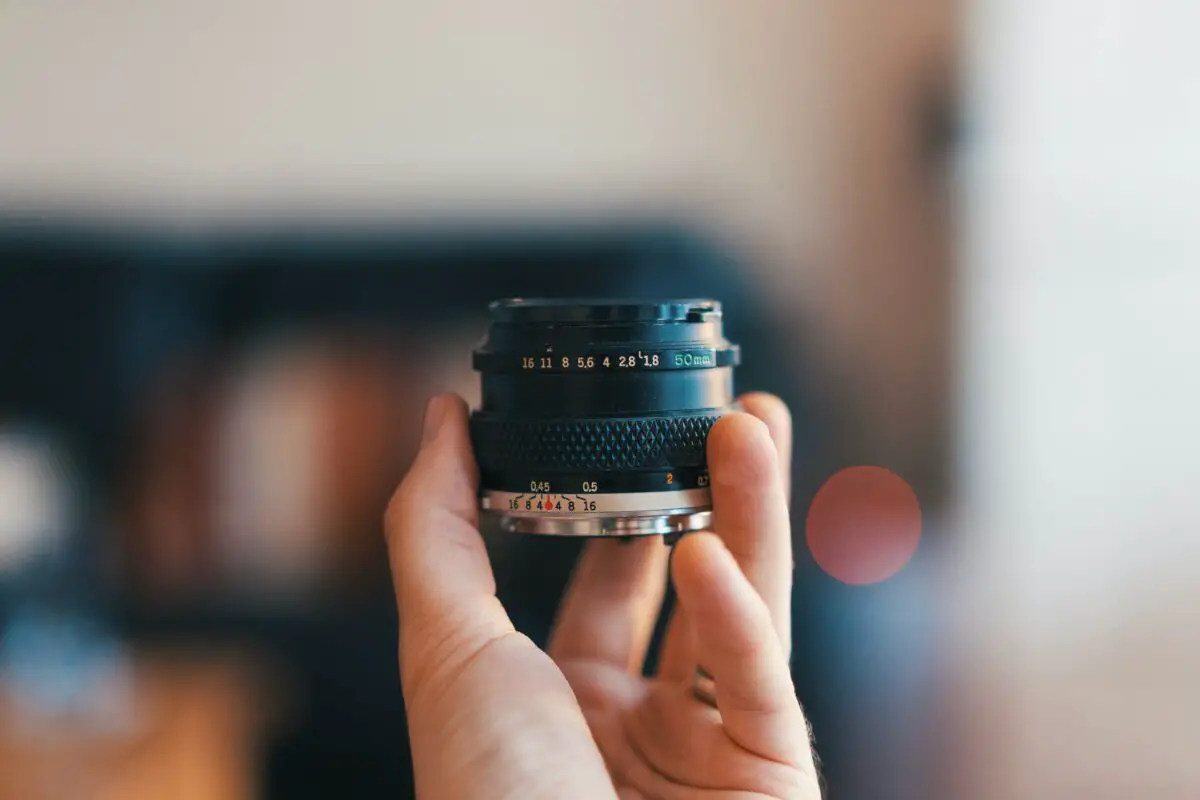
Building on meticulous selective sharpening, I ensure that my macro photos retain their crispness through careful attention to export settings, which play a pivotal role in preserving image quality.
When I'm ready to export, I choose a format that supports high resolution and minimal compression. I typically opt for TIFF or JPEG at maximum quality.
It's crucial to manage the resolution settings; I avoid downsampling and maintain the highest possible PPI that my output medium supports. For web display, 72 PPI is standard, but for prints, I'll go up to 300 PPI or more.
I also check the sharpening options in my export dialogue, ensuring it's tailored to the medium – screen or print.
