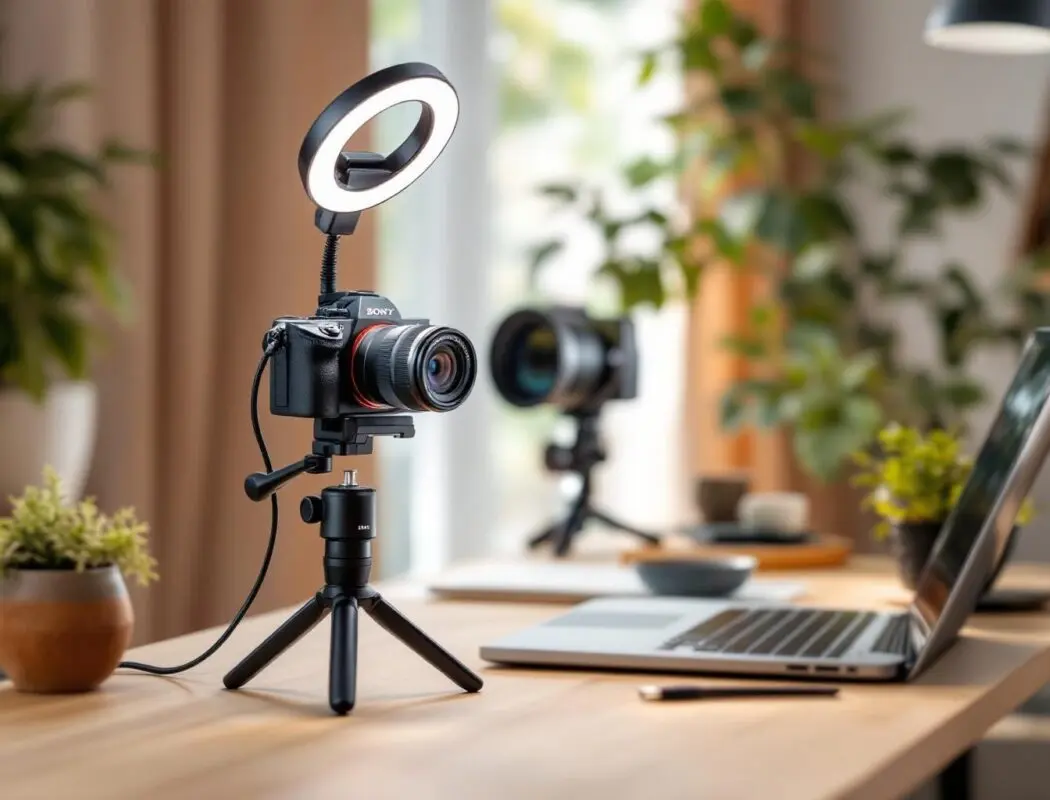
Your Sony camera produces dramatically better image quality than any dedicated webcam on the market — sharper detail, better low-light performance, shallower depth of field, and more natural color rendering. Using it as a webcam for video calls, live streaming, and content creation is straightforward in 2026, with multiple connection methods available depending on your camera model and quality requirements.
This guide covers every method for connecting your Sony camera as a webcam, from the simplest plug-and-play USB approach to professional-grade HDMI capture setups. Whether you are joining Zoom meetings, streaming on Twitch, or recording YouTube content, one of these methods will work for your specific Sony body.
What Are the Three Ways to Use a Sony Camera as a Webcam?
There are three primary methods, each with different trade-offs in quality, cost, and complexity:
| Method | Quality | Cost | Complexity | Latency | Best For |
|---|---|---|---|---|---|
| USB (Imaging Edge Webcam / UVC) | Good (1080p) | Free (just a USB cable) | Low | Low | Video calls, simple streaming |
| HDMI Capture Card | Excellent (up to 4K) | $20-200 (capture card) | Medium | Very low | Streaming, recording, maximum quality |
| Wi-Fi (Imaging Edge Mobile) | Fair (720p-1080p) | Free | Medium | High | Emergency backup, wireless flexibility |
For most people, the USB method is the place to start — it is free, simple, and good enough for professional video calls. If you need higher quality for streaming or content creation, the HDMI capture card method is the upgrade path. The Wi-Fi method exists but is not recommended as a primary setup due to latency and quality limitations.
How Do You Set Up USB Webcam Mode (Imaging Edge Webcam)?
This is the simplest method. Many newer Sony cameras support USB Video Class (UVC) natively, meaning they appear as a standard webcam when connected via USB-C — no software required. Older models need Sony’s free Imaging Edge Webcam software.
Method A: Native UVC (Newer Cameras — No Software Needed)
The following Sony cameras support native UVC webcam mode, where you simply connect a USB-C cable and the camera appears as a webcam in any video conferencing or streaming application:
- Sony A7C II
- Sony A7CR
- Sony A7R V
- Sony A7 IV
- Sony A9 III
- Sony ZV-E1
- Sony ZV-E10 II
- Sony FX3 (with firmware update)
- Sony FX30 (with firmware update)
Setup steps:
- On your camera, navigate to Network > USB Streaming and set it to On.
- Connect your camera to your computer with a USB-C cable. Use a quality cable — cheap cables may not support data transfer or may limit bandwidth.
- The camera’s screen will display “USB Streaming” confirming the connection.
- Open your video conferencing app (Zoom, Teams, Google Meet, OBS, etc.) and select the Sony camera from the video source dropdown. It typically appears as “Sony Camera” or your specific model name.
- Audio from the camera’s microphone is also available as a USB audio source, though an external microphone will produce better results.
The USB streaming output is 1080p at 30fps on most models, which is excellent quality for video calls and adequate for streaming. The connection is stable and low-latency — you will not notice any delay between your movements and the video output.
Method B: Imaging Edge Webcam Software (Older Cameras)
For older Sony cameras that do not have native UVC support, Sony provides the free Imaging Edge Webcam software for Windows and macOS. This software creates a virtual webcam device that apps can use.
Compatible cameras include:
- Sony A7 III, A7R III, A7R IV
- Sony A7S II, A7S III
- Sony A6400, A6500, A6600
- Sony A1
- Sony RX100 VII, RX0 II
- And many more (check Sony’s compatibility list on their website)
Setup steps:
- Download and install Imaging Edge Webcam from Sony’s support website. Available for Windows 10/11 and macOS 12+.
- Connect your camera via USB. On the camera, when prompted, select Remote Shooting (PC Remote) as the USB connection mode.
- Launch the Imaging Edge Webcam application. It will detect your camera automatically.
- In your video conferencing app, select “Sony Camera (Imaging Edge)” as your video source.
- The software outputs 1024 x 576 or 1280 x 720 resolution depending on your camera model — lower than native UVC but still significantly better than most built-in laptop webcams.
Limitations of Imaging Edge Webcam: The software adds some processing overhead, the resolution is capped lower than the native UVC method, and it occasionally requires restarting if the camera disconnects. If your camera supports native UVC, always use that instead.
How Do You Set Up HDMI Capture for Maximum Quality?
The HDMI capture card method produces the best possible video quality from your Sony camera. It takes the camera’s clean HDMI output — the same signal you would see on an external monitor — and converts it into a USB webcam signal that your computer can use.
What You Need
- HDMI capture card: A device that converts HDMI video into a USB webcam signal. Options range from $20 generic cards to the $130 Elgato Cam Link 4K.
- HDMI cable: Micro-HDMI (Type D) to standard HDMI (Type A) for most Sony cameras. The A7R V, A7 IV, and newer models use a full-size HDMI Type A port — check your camera’s manual.
- Power supply: A dummy battery or USB-C power adapter for continuous operation (the camera’s battery will drain during extended streaming).
Recommended HDMI Capture Cards
| Capture Card | Max Input | Output to Computer | Price | Notes |
|---|---|---|---|---|
| Elgato Cam Link 4K | 4K 30fps / 1080p 60fps | USB 3.0 UVC | $130 | Industry standard, excellent compatibility |
| Elgato HD60 X | 4K 30fps / 1080p 60fps | USB 3.0 UVC | $160 | Adds passthrough for external monitor |
| AVerMedia Live Gamer Mini | 1080p 60fps | USB 2.0 UVC | $80 | Compact, reliable, good value |
| Generic USB HDMI Capture | 1080p 30fps | USB 2.0 UVC | $15-30 | Budget option, variable quality, may compress signal |
The Elgato Cam Link 4K is the standard recommendation. It is plug-and-play on Windows and Mac, recognized as a UVC device (no drivers needed), and handles the 4K signal from your camera without issues. The generic $20 capture cards work for basic video calls but may introduce compression artifacts, occasional frame drops, or color shifts that more expensive cards avoid.
HDMI Capture Setup Steps
- Configure your camera for clean HDMI output: Navigate to Setup > HDMI Settings > HDMI Info. Display and set it to Off. This removes all on-screen overlays (focus rectangles, exposure information, etc.) from the HDMI output, giving you a clean video feed.
- Set HDMI output resolution: Under HDMI Settings, set the output resolution. For most capture cards, 1080p is the optimal setting. Setting 4K output requires a 4K-capable capture card and adds processing load with minimal visible benefit for webcam use.
- Connect the HDMI cable from your camera to the capture card, and connect the capture card to your computer via USB.
- Disable auto power-off: Set Setup > Power Setting > Auto Power OFF Temp to High, and Auto Power OFF to Off. This prevents the camera from shutting down during long streaming sessions.
- Insert a dummy battery or connect USB-C power: For continuous operation, a dummy battery (NP-FZ100 type for most full-frame Sony bodies) connected to an AC adapter provides unlimited power. Many newer Sony cameras also support USB-C power delivery while outputting HDMI.
- Select the capture card as your video source in Zoom, OBS, or your preferred streaming software. It typically appears as “Cam Link 4K” or “USB Video Device.”
How Should You Configure Video Settings on Your Sony Camera for Webcam Use?
Whether you are using USB or HDMI, these camera settings will produce the best webcam image:
Exposure Settings
- Mode: Aperture Priority (A) or Manual (M). Aperture Priority is convenient for changing lighting conditions. Manual gives you complete control.
- Aperture: f/2.8 to f/4 for a blurred background that separates you from your environment. If you want more of the background in focus (showing your setup or room), use f/5.6 to f/8.
- ISO: Auto ISO with a maximum limit of 6400 (for A7 IV and newer) or 3200 (for older models). This prevents the camera from pushing ISO too high and introducing noise in dim conditions.
- White balance: Set a manual white balance or use a custom Kelvin value that matches your lighting. Auto white balance can shift during calls as lighting changes or as you move, which is distracting to viewers.
Focus Settings
- Focus Mode: Continuous AF (AF-C)
- Focus Area: Wide with Face/Eye AF enabled. This keeps the camera locked on your face as you move within the frame.
- AF Transition Speed: Standard (3-4) for smooth focus transitions when you lean forward or back.
Picture Profile
For webcam use, do not shoot in S-Log3 or flat profiles. Use the Standard or Portrait creative look, which provides ready-to-use color and contrast straight from the camera. Video call platforms like Zoom and Teams do not support color grading, so a flat profile will make you look washed out.
If you want a slightly more polished look, use the Creative Look: SH (Soft Highlight) setting, which smooths skin tones subtly while maintaining natural contrast.
What Lens Should You Use for Webcam Streaming?
Lens choice significantly impacts your webcam image. The ideal focal length depends on your desk setup and how far you sit from the camera:
- 24-35mm: Best if the camera is mounted on top of your monitor or close to your face (12-24 inches away). Shows you from the chest up with environmental context. The Sony FE 24-50mm f/2.8 G is excellent for this.
- 35-50mm: Best if the camera is behind your monitor or 2-3 feet away. More flattering facial proportions than wider lenses. The Sony FE 50mm f/1.8 is a budget-friendly option that produces beautiful background blur.
- 85mm+: Only if you have a very deep desk or the camera is mounted several feet away. Produces the most flattering facial proportions but requires significant distance between you and the camera.
For most desk setups, a 35mm or 50mm lens at f/1.8 to f/2.8 provides the best combination of flattering perspective, background blur, and practical working distance. The background blur alone makes a dramatic difference compared to a flat, everything-in-focus laptop webcam image.
How Do You Optimize Lighting for Sony Camera Webcam Streaming?
Your Sony camera’s superior sensor does not eliminate the need for good lighting — it makes good lighting look even better. Here is a practical lighting setup:
Basic Two-Light Setup (Recommended)
- Key light: A large, soft light source positioned at 45 degrees to one side of your face, slightly above eye level. An LED panel with a diffuser (like the Elgato Key Light or a $30-50 LED panel from Amazon) works well. Set it to 4500-5500K for neutral daylight color.
- Fill light: A softer, dimmer light on the opposite side to fill shadows. This can be as simple as a white poster board bouncing the key light, or a second LED panel at 30-50% of the key light’s intensity.
Lighting Tips for Camera Webcam Users
- Avoid overhead room lighting as your only source. It creates harsh shadows under your eyes and nose — the classic “horror movie” look.
- Match your light color temperature to your white balance setting. If your LED panel is at 5000K, set your camera’s white balance to 5000K. Mismatched settings produce unnatural skin tones.
- Position your key light close to the camera. When your main light is near the lens axis, your eye contact appears natural because you are looking toward both the camera and the light simultaneously.
- Turn off competing light sources. Mixed lighting (daylight from a window plus warm overhead bulbs plus a cool LED panel) creates color casts that even the best camera struggles to render naturally. Control your lighting environment for the best results.
How Do You Compare USB vs HDMI vs Wi-Fi Connection Methods?
Here is a detailed comparison to help you choose the right method for your needs:
| Factor | USB (UVC/Imaging Edge) | HDMI Capture Card | Wi-Fi |
|---|---|---|---|
| Maximum Resolution | 1080p 30fps (UVC) / 720p (Imaging Edge) | 4K 30fps / 1080p 60fps | 720p-1080p (variable) |
| Latency | ~50ms (barely noticeable) | ~20-30ms (imperceptible) | ~200-500ms (noticeable) |
| Additional Hardware | USB-C cable only | Capture card + HDMI cable | None (wireless) |
| Additional Cost | $0-15 (cable) | $20-200 (capture card + cable) | $0 |
| Audio Support | Yes (camera mic via USB) | Yes (camera mic via HDMI, or separate audio) | Limited |
| Reliability | High | Very high | Medium (interference-dependent) |
| Simultaneous Recording | No (camera in streaming mode) | Yes (camera records to card + outputs HDMI) | Limited |
| Ease of Setup | Very easy | Moderate | Easy (but less reliable) |
My recommendation: Start with the USB method. If 1080p 30fps meets your needs for video calls and basic streaming, you are done — it is free and simple. Upgrade to an HDMI capture card when you need higher frame rates, 4K output, the ability to record locally on the camera simultaneously, or the lowest possible latency for live streaming applications.
How Do You Power Your Sony Camera for Extended Streaming?
Sony camera batteries last 2-3 hours of continuous video output at best. For all-day webcam use, you need continuous power:
Option 1: USB-C Power Delivery (Newer Cameras)
Most Sony cameras released from 2021 onward support USB-C power delivery, which means a USB-C cable from a power adapter (or even a USB-C hub) can keep the camera powered indefinitely while it outputs video via HDMI. Check your specific camera model — the A7C II, A7 IV, A7R V, and ZV-E1 all support this.
Note: If you are using USB-C for both webcam streaming (UVC mode) and power, the camera handles both over the single USB-C connection. For HDMI output, you can use USB-C solely for power while HDMI handles the video signal.
Option 2: Dummy Battery + AC Adapter
A dummy battery replaces your camera’s NP-FZ100 battery with a plastic shell that has a power cord running to an external AC adapter. This is the most reliable continuous power method because it provides clean, consistent power regardless of the camera’s USB-C power delivery capability.
Sony sells the official AC-PW20 (for older bodies) and compatible NP-FZ100 dummy batteries. Third-party options from Gonine, F1TP, and others cost $15-25 and work identically in most cases.
Important: When using a dummy battery, leave the battery compartment door open (or remove the small knockout panel on cameras that have one). Running the power cord through a fully closed battery door can damage the cable over time.
What Common Problems Occur with Sony Camera Webcam Setups?
Here are the most frequent issues and their solutions:
Camera Not Detected as Webcam via USB
- Ensure USB Streaming is enabled in the camera’s Network menu
- Try a different USB-C cable — data-only cables (not charge-only) are required
- Connect directly to a USB port on the computer, not through a hub
- Restart both the camera and computer
- Update your camera’s firmware to the latest version
Camera Overheating During Long Sessions
- Set Auto Power OFF Temp to High in the camera settings
- Ensure the camera has adequate ventilation — do not place it in a confined space
- Use 1080p output instead of 4K to reduce heat generation
- Consider a small USB fan directed at the camera body for extended sessions
- The A7C II and newer bodies handle heat well in streaming mode, but older cameras (A7 III, A6400) may overheat after 30-60 minutes
On-Screen Overlays Appearing in HDMI Output
- Navigate to HDMI Settings > HDMI Info. Display and set to Off
- Disable recording indicators and AF area display in the camera’s display settings
Flickering or Banding Under Artificial Lights
- Set your shutter speed to match your local power frequency: 1/50 for 50 Hz regions or 1/60 for 60 Hz regions
- Enable Flicker-free shooting in the camera menu if available
- Replace problem light sources with high-quality LEDs that operate at high PWM frequencies
Frequently Asked Questions
Does using my Sony camera as a webcam wear out the shutter?
No. When used as a webcam, your Sony camera operates in video/live view mode, which does not engage the mechanical shutter at all. There is zero shutter wear from webcam use. The camera simply reads the sensor continuously and outputs the video feed — no different from recording a video. The only wear consideration is general electronic component aging, which is negligible for modern cameras used as webcams for a few hours daily.
Can I use my Sony camera as a webcam while simultaneously recording to the memory card?
This depends on your connection method. With the HDMI capture card method, yes — the camera can record to its memory card while simultaneously outputting a clean HDMI signal to your capture card. This is useful for recording a high-quality local backup of your stream or call. With the USB streaming method, the camera enters a dedicated streaming mode and cannot record to the memory card simultaneously.
Which Sony camera is the best dedicated webcam?
The Sony ZV-E1 is purpose-built for content creation and makes an excellent dedicated webcam. It features a full-frame sensor, excellent autofocus with face/eye tracking, a built-in directional microphone array, and a flip-out screen. The A7C II is another strong option — compact body, excellent autofocus, USB-C UVC streaming, and outstanding image quality. For a more budget-friendly option, the ZV-E10 II (APS-C) provides very good webcam performance at a lower price point.
Do I need special software like OBS for webcam use?
No. Both the USB (UVC) and HDMI capture card methods present your camera as a standard webcam that works with any application — Zoom, Microsoft Teams, Google Meet, Discord, Skype, and any other software that supports webcam input. OBS Studio (free, open-source) is only necessary if you want to add overlays, switch between multiple cameras, apply filters, or stream to platforms like Twitch or YouTube Live. For standard video calls, your camera works directly with the conferencing software without any additional applications.
Will my Sony camera auto-focus track my face during video calls?
Yes. Sony’s face and eye detection autofocus works during webcam streaming in both USB and HDMI modes. Set your focus mode to Continuous AF (AF-C) with Face/Eye AF priority enabled. The camera will track your face as you move within the frame, lean forward or back, and even briefly look away and return. The newer Sony cameras (A7C II, A7R V, A9 III) have particularly refined tracking that handles these scenarios seamlessly. For older models, the tracking is still effective but may occasionally require a moment to re-acquire your face after large movements.