My Default Setting: f2.8 — and Why I Rarely Leave It
My median aperture across 33 macro frames is f2.8. My median focal length is 105mm. My median ISO is 400, but it swings from 100 in open shade to 12800 when I stop down for texture. Those three numbers tell the whole story: macro is about choosing one thin plane and making it count, then managing light with whatever ISO the moment demands.
Lesson 1: Start at f2.8 and Have a Reason to Stop Down
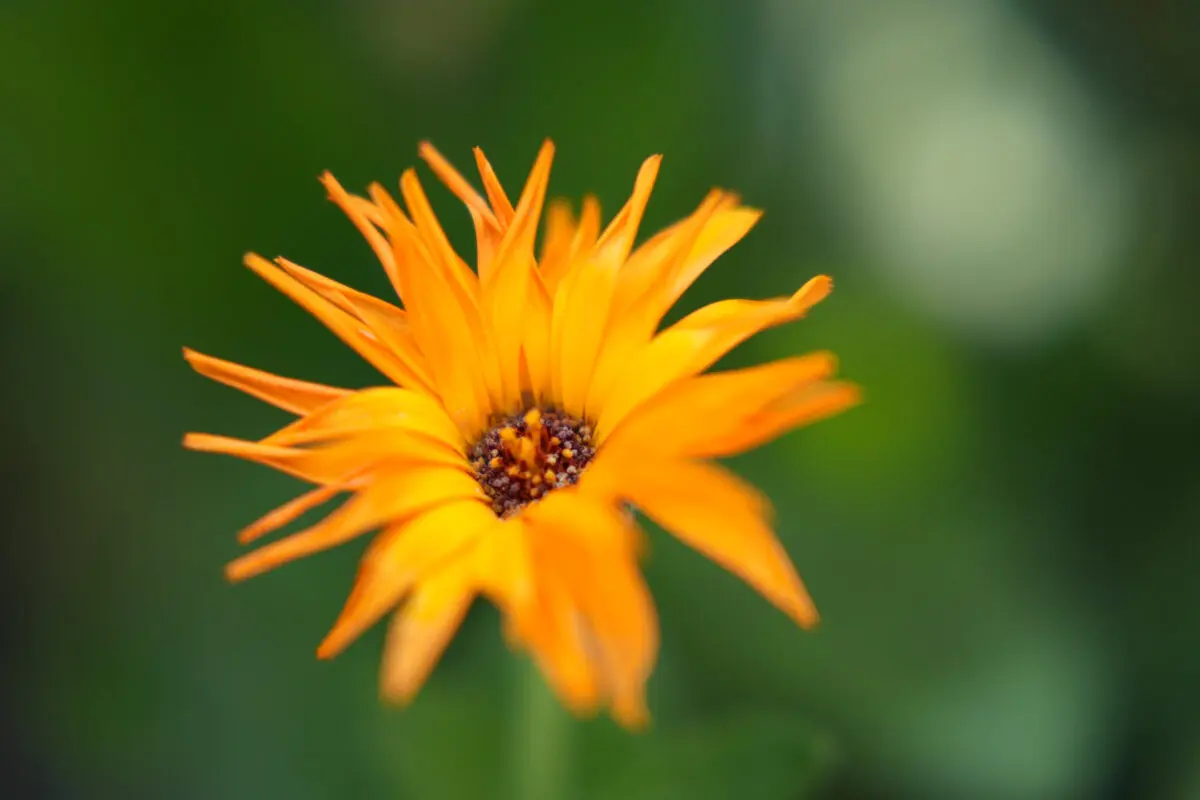
At 70mm and close focus on this orange daisy, f2.8 gives me roughly 3mm of acceptable sharpness — the base of the petals where they meet the dark center, nothing more. That’s intentional. A thin slice of focus against a soft green blur forces the eye directly to the structure I care about. I don’t open wider than f2.8 for macro work on Sony; there’s no practical gain, and the moment you miss the focus plane by a hair the whole frame falls apart.
The counterintuitive version of this lesson: f2.8 at 18mm is nothing like f2.8 at 105mm. When I was six inches from this sedum cluster, 18mm at f2.8 still gave enough depth to hold both the bee’s body and the surrounding florets. Shorter focal length, more depth of field at the same aperture — so even wide, the bee reads sharp.

Lesson 2: Stop Down for Texture, Not for “Safety”
The only time I push past f8 is when surface texture is the whole subject. This low-growing plant with silvery hairs needed the fine leaf structure to resolve from edge to edge — that meant f14. At f14 and 105mm in dim garden light, ISO had to ride all the way to 12800. Sony sensors handle that gracefully enough at typical output sizes, and I’d rather have slight luminance noise on a texture shot than motion blur from a slow shutter.

For a single cosmos bloom, f8 is my middle ground. The petals follow a curved plane; f2.8’s paper-thin slice won’t hold tip to base, but I don’t want the foliage to start resolving either. f8 at 110mm buys me maybe 12–15mm of depth — enough.

A lantana cluster presents multiple planes at once — florets staggered at slightly different distances. f8 ensures the whole cluster resolves rather than just the nearest row of blooms.

Lesson 3: Focal Length Controls Working Distance
I default to 90–150mm for garden macro for one practical reason: I don’t disturb the subject. At 150mm on this columnar cactus I was shooting from about 18 inches — no lens shadow falling across the spines, no accidental bump, and the telephoto compression renders the neutral background as a clean wash behind the ribbing.

The same lantana I shot at f8 above, I also shot at f2.8 from 90mm two minutes later. Fully different result: a single micro-cluster isolated, green leaf at lower-left, warm bokeh framing the whole thing. Same flower. The aperture choice is a storytelling decision as much as a technical one.

Lesson 4: Place Focus on the Nearest Point That Defines the Subject
An allium umbel in bloom has florets curving in every direction. At f4 and 105mm there’s no single correct answer, so I focus on the one or two open flowers closest to the lens and let the closed buds transition to gray. That gradient reads as depth. If I focus at the back of the umbel the near florets go blurry and it reads as a mistake, not a choice.

Lesson 5: Indoors, Let ISO Ride
These bean sprouts were in a glass jar, available light only, dark background. I kept f2.8 to gather as much light as possible and let ISO climb to 1250 to hold 1/200s — the minimum I trust at 90mm with close-focus magnification. Camera shake at macro distances amplifies fast. ISO noise at 1250 on Sony bodies is invisible at normal output sizes; motion blur from a slow shutter is not.

When texture demands f14 in a dim environment — as with these serrated leaves on the same session as the fuzzy plant above — ISO goes to 12800 with no hesitation. Stopped down, close focus, ambient garden light: there’s no other option. I’d rather resolve the insect on the leaf and accept the noise than blur it chasing a cleaner histogram.

Lesson 6: Read the Background Before You Set the Aperture
On this white oleander in late-afternoon light, the dark foliage behind the flower does the separation work for me. I didn’t need f2.8 — the tonal contrast between white petals and black-green background already isolates the subject. I shot f8, bumped ISO to 1600 to hold shutter speed, and let the natural contrast handle the rest. Not every shot needs maximum aperture; sometimes the scene gives you background separation for free.

The formula I keep returning to: start at f2.8, find the longest focal length that gives comfortable working room, read the background before touching the aperture dial, then float ISO to whatever holds 1/160s or faster. This cactus apex at 150mm and f2.8, ISO 320 in full shade — three of those four decisions made themselves. The only deliberate choice was the angle. The amber-silver spine contrast did the rest.
